How to Get the Most from Bordered Stationery Printable Paper 206 for Your KDP Business and Creative Projects
When you start exploring printable paper sets for your low-content or no-content KDP business, stationery line, or digital planner shop, it's easy to assume any bordered paper will do the job. The reality is that the details—resolution, file type, trim size, and the specific paper types in a set—can make or break your final product. The Bordered Stationery Printable Paper 206 set, which includes 1 unlined bordered paper, 1 graph paper, and 2 lined papers, offers a versatile foundation. But to use it well, you need to look past the surface and understand what each element truly delivers.
Many creators jump into designing without checking the technical specs or thinking about how each paper type will function in a real-world product. That approach often leads to blurry prints, mismatched layouts, or downloads that don't meet customer expectations. This article walks through the common pitfalls people encounter with bordered stationery sets like this one, and how to avoid them so your work looks polished and serves its purpose.
What You Actually Get with Bordered Stationery Printable Paper 206
Before diving into mistakes, it helps to clarify what this set contains and why it matters for your projects. The package includes four distinct papers:
- 1 unlined bordered paper – ideal for freeform notes, sketches, or decorative pages
- 1 graph paper – suited for planners, budgeting layouts, or technical sketches
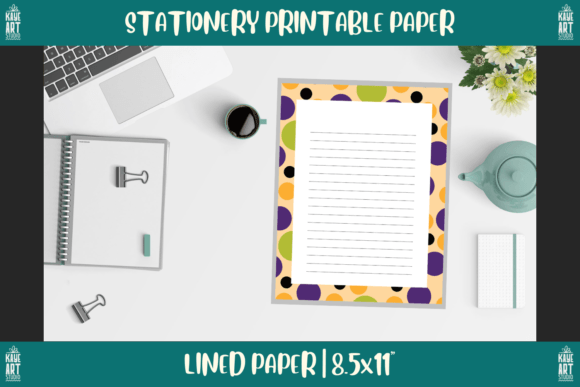
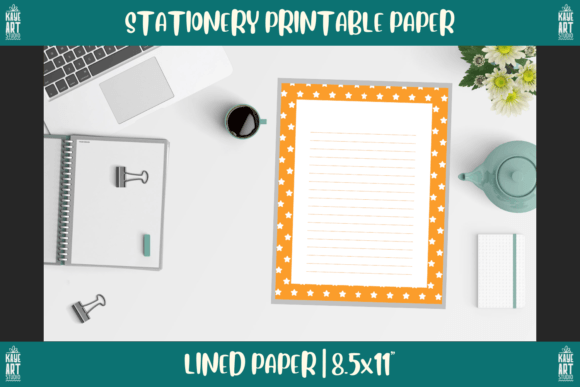
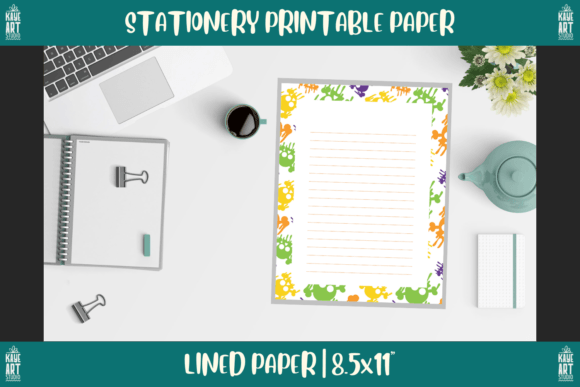
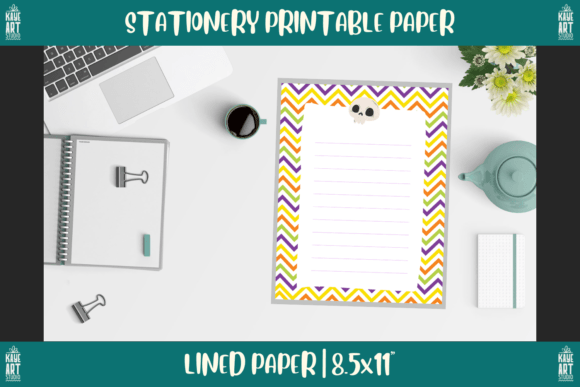
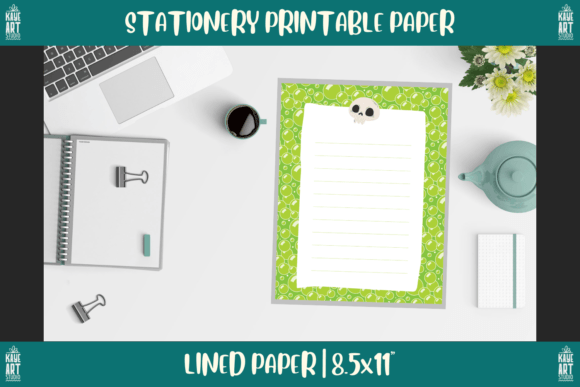
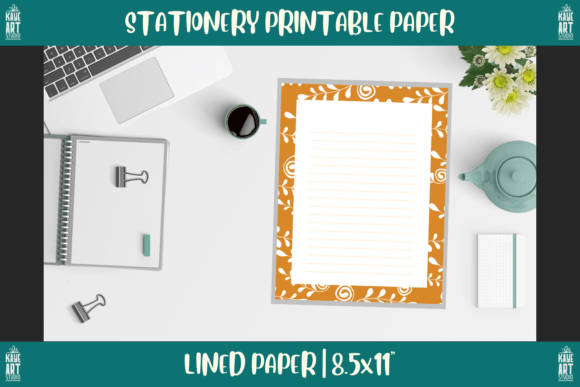
- 2 lined papers – standard for journaling, to-do lists, or letter writing
All files are provided at 300 DPI in both PNG and PDF formats, with a trim size of 8.5×11 inches. That resolution and file format flexibility are not minor details—they directly affect print quality and compatibility across platforms. The bordered design adds a finished look without requiring extra decorative elements from you. For a KDP business or stationery line, these are assets you can use as-is or customize further.
Mistake 1: Treating All Printable Paper Sets as Interchangeable
One of the most common errors is assuming any set of printable papers will work equally well for every project. You might be tempted to grab a generic bordered set and start uploading to KDP or selling as digital downloads. But the Bordered Stationery Printable Paper 206 set has specific characteristics that suit certain uses better than others.
For example, the unlined bordered paper offers creative freedom, but it’s not ideal for a lined journal. Conversely, the lined papers are perfect for structured writing but would feel restrictive for a bullet journal spread. When you treat all papers as the same, you end up with products that feel mismatched or don't meet the buyer's unspoken expectations. A customer who buys a "lined journal" expects every page to have consistent lines—not half lined and half blank.
What to do instead: Look at each paper type in the set and decide which projects it genuinely fits. Use the unlined paper for creative inserts or cover pages. Reserve the lined sheets for traditional journal interiors. The graph paper works beautifully for habit trackers, budget sheets, or planning spreads. Match the paper to the purpose, not the other way around.
Mistake 2: Overlooking the Importance of 300 DPI and File Formats
You might see "300 DPI" and "PNG/PDF" listed and think, "That's standard, nothing special." But many printable paper sets sold online cut corners here. Some offer only low-resolution PNGs or PDFs that compress the quality. When you try to print those, the borders appear soft, lines look jagged, and the overall impression feels unprofessional.
The 300 DPI resolution in this set is not a luxury—it's a minimum for crisp, clear prints. If you use a lower-resolution version, you'll get fuzzy edges and uneven lines. That directly affects how customers perceive your product. For a KDP business, this can lead to negative reviews or returns. For a stationery line, it hurts your reputation.
What to do instead: Always verify the resolution before you buy or use any printable paper set. If you download a set and it's below 300 DPI, do not use it for print products. The PNG format gives you flexibility for digital planners and customization, while PDF is best for print-ready files. Keep both formats in your workflow—use PNG when you need to edit or layer, and PDF when you need to upload for print-on-demand.
Mistake 3: Ignoring the Trim Size and Bleed Requirements for KDP
This is where many creators unintentionally sabotage their own work. The set specifies a trim size of 8.5×11 inches, which is standard for US letter paper. But if you're publishing on Amazon KDP or another print-on-demand platform, you need to account for bleed. The 8.5×11 size is the final trimmed page size, not the upload size. If you upload an 8.5×11 PDF without adding bleed, your borders might get cut off slightly, or you'll have white edges where you don't want them.
How this shows up in real projects: Imagine you design a lined journal interior using this set. The border is exactly 8.5×11 inches. You upload it to KDP as-is. When the book is printed and trimmed, the border on the outer edge could be trimmed unevenly, making the design look off-center. That's a common complaint from buyers who expect symmetry.
What to do instead: Before using any bordered paper set for KDP, add at least 0.125 inches of bleed on all sides. Expand the border or background to fill that extra area. Most design software like Canva, Affinity Publisher, or Photoshop lets you set bleed margins easily. Alternatively, use the PDF format as a base and resize your canvas with bleed before uploading. Always test-print a single page before committing to a full batch.
Mistake 4: Using the Wrong Paper Type for Your Target Audience
Different audiences expect different page layouts. If you sell a "student planner" and fill it with unlined bordered paper, students will find it impractical for note-taking. If you create a "creative journal" and use only lined paper, artists may feel boxed in. The Bordered Stationery Printable Paper 206 set gives you variety, but only if you use that variety intentionally.
Example: A blogger selling printable gratitude journals might use the lined paper for daily entries and the graph paper for a monthly habit tracker. That combination feels cohesive and thoughtful. A small business owner creating a product planner might use the unlined bordered paper for brainstorming pages and the graph paper for budget tables. Each type serves a clear purpose.
What to do instead: Map out your product's page flow before you start designing. Decide which sections need structure (lined or graph) and which need freedom (unlined). Then assign the appropriate paper from the set. This prevents you from forcing a paper type into a role it wasn't designed for. Your customers will notice the difference because the layout will feel intuitive, not random.
Mistake 5: Neglecting to Test Your Digital Planner Workflows
If you sell digital planners for tablets or apps like GoodNotes, Notability, or Xodo, the file format and border placement matter differently than for print. The PNG format in this set is your friend here, because you can easily import individual pages as images and add hyperlinks. But a common mistake is using the bordered paper without checking how the border interacts with the app's interface.
For example, if the border is too close to the edge of the page, it may get hidden behind the app's toolbar or be uncomfortable to write near. Some apps also crop or scale images slightly during import, which can distort the border alignment.
What to do instead: Before you build an entire digital planner, import one page into your target app and test it. Check if the border remains fully visible in both landscape and portrait mode. Test writing near the edges with a stylus. If the border feels too tight, you can resize the page within the app or use the unlined version as a base and add your own margins. Small adjustments here prevent a frustrating user experience.
Mistake 6: Assuming the Set Works for Every Project Without Customization
The Bordered Stationery Printable Paper 206 set is a solid starting point, but it's not a finished product. Some creators download it, upload it directly to KDP or Etsy, and wonder why sales are low. The answer is that raw printable paper sets are tools, not final products. Customers want value—they want a journal that feels complete, with a cover, binding, and consistent interior design.
Using the set as a base, you can add headers, page numbers, dates, prompts, or decorative elements to make it your own. The 300 DPI PNGs give you room to layer graphics without losing quality. The PDFs give you a clean print-ready version for physical products.
Example of a better approach: Take the 2 lined papers from the set and use them as the interior for a "Weekly Reflection Journal." Add a title page, a table of contents, and a back cover. Use the unlined bordered paper for a "Notes" section at the end. The graph paper becomes a "Goal Tracker" insert. Now you have a cohesive product built from a single set, but it feels custom and complete.
What to Check Before You Buy or Download This Set
Before you commit to using the Bordered Stationery Printable Paper 206 set for your next project, run through a quick checklist to make sure it fits your needs:
- Resolution – Confirm it's 300 DPI (it is, but always verify source files).
- File formats – Do you need PNG for editing, PDF for print, or both? The set provides both, which is a time-saver.
- Trim size – 8.5×11 inches works for US letter products. If you plan to sell internationally, check if you need to resize for A4.
- Border style – The bordered design may match some aesthetics better than others. Look at the actual border width and color to see if it suits your brand.
- Paper variety – With 1 unlined, 1 graph, and 2 lined papers, you get a balanced mix. But if your product needs only one type, you may not use the full set.
- License terms – For KDP or commercial use, confirm that the set allows you to sell products created from it.
Taking five minutes to check these points upfront saves you from rework or mismatched products later.
Practical Advice for Using This Set Effectively
Here are a few actionable tips that come from working with printable paper sets over time:
- Use the PDFs for print-ready uploads. PDFs preserve layout and resolution better than PNGs when sent to a printer. Use the PNGs only when you need to edit or layer.
- Keep a master folder with the original files. If you customize a page, save a separate copy. That way you can always return to the clean base.
- Create a test booklet. Print one page of each paper type using your home printer or local print shop. Check color accuracy, border alignment, and line sharpness before you scale up.
- Pair the set with complementary assets. The bordered paper works well with minimalist icons, simple headers, and clean fonts. Avoid overloading the design—the border already provides structure.
- Think about binding. If you create a physical journal, make sure the border doesn't get lost in the spine. For spiral-bound books, leave extra margin on the inside edge.
Final Thoughts on Getting Real Value from This Printable Paper Set
The Bordered Stationery Printable Paper 206 set is more than just a collection of decorative pages. It's a practical resource that can save you time and improve the consistency of your low-content and no-content products. But the value you extract from it depends on how well you match each paper type to your project, how carefully you handle resolution and trim specifications, and whether you treat it as a foundation to build upon rather than a finished product.
Avoid the common mistakes of treating all papers as identical, ignoring file quality, and neglecting bleed requirements. Test your designs in the final format—whether print or digital—before you commit to a full launch. By paying attention to these details, you'll produce work that looks professional, meets customer expectations, and stands out in a crowded marketplace.
Whether you're a beginner setting up your first KDP listing, a seasoned creator expanding your stationery line, or a hobbyist making custom planners for personal use, a solid set like this one can become a reliable part of your workflow. Use it with intention, and you'll get results that are both beautiful and functional.